
So I decided to make one.
It was really when I went to see The Hobbit - good film - a couple of months ago, that I made my mind up to simply go for it. So I pulled together a few ideas I'd had floating around my head for a good few years, jotted them down, then got right to it.
The overall dress consists of two garments - a kirtle and an overdress. The kirtle (that looks like a chemise) is made from a single bedsheet, while the overdress is made from a kingsized duvet cover and pillow set that I found at a charity shop (for £4.99, no less). Let's just say it took me a little while to unpick everything.
I never actually planned to make it out of bedding, that's just how it ended up!
Anyway, without further ado, here it is! I shall explain more as we go along. (you'll have to excuse the creases...)

The dress in its entirety.

The kirtle (see what I mean about the chemise).
The kirtle, I literally made it up as I went along. It's made up of a front piece and a back piece (both the same shape), four panels and two sleeves, with a drawstring neckline and lacing up the forearm of the sleeve to achieve a tight fit.

Drawstring neckline.

Sleeves and lacing, using button holes instead of eyelets.

Construction detailing - underside of the sleeve seam, followed by the side seam, followed by the start of the triangular shaped panels, of which there are two on each side.
Now for the dress, I needed to start somewhere, and so I was scouring the internet for free medieval dress patterns and came across this website that had a good few patterns and ideas, and not exclusively for medieval wedding dresses as the title may suggest. But this is the pattern that my dress is loosely based on...

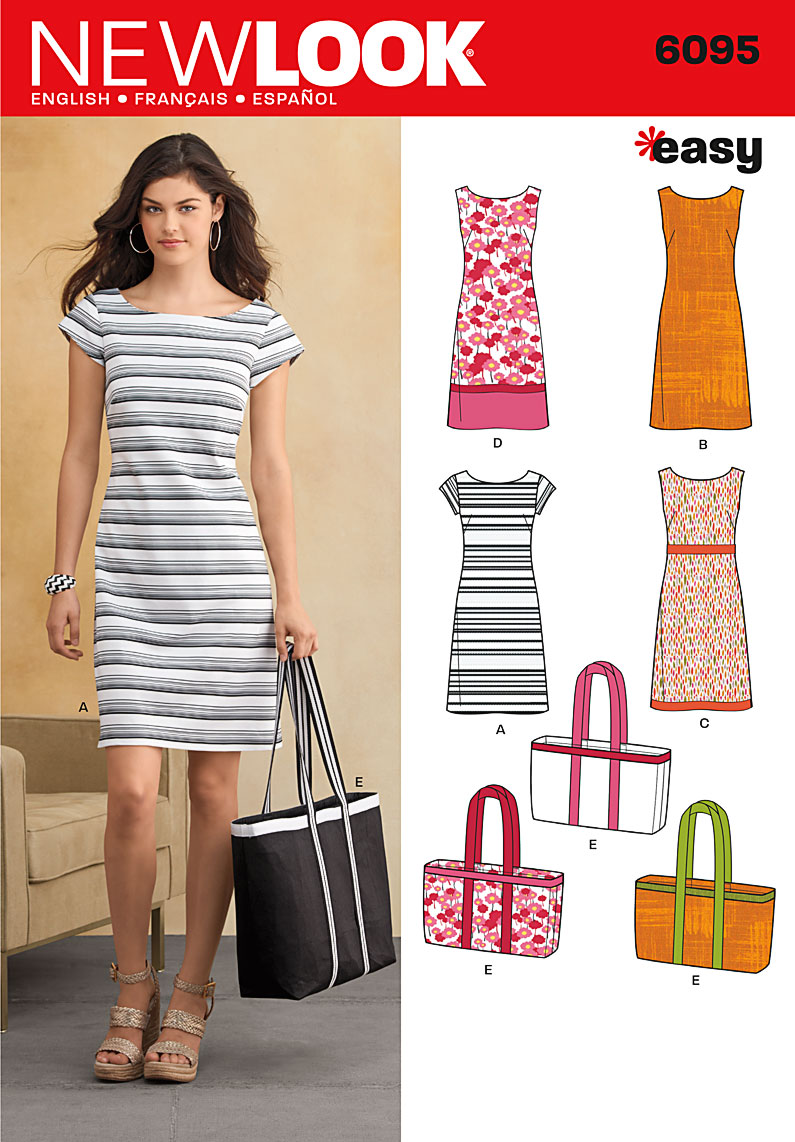
What I then did, with that pattern in my head, was use the top half of a modern dress pattern I already had (new look 6095) so that I had the general shape of the top half, and I could then also add bust darts.
I cut the panels from the pillow cases, five panels in total, and everything else from the duvet cover, and I still have plenty of leftover material!
The sleeves, I drafted myself. I then sewed everything together, and set to work on the button holes for the lacing.
How many button holes are there in total, do I hear you ask?
80. 24 on the kirtle, 56 on the overdress.
Yeah, those were a little time consuming.

But the result is reward enough! I've always loved lacing, it's practical and it looks pretty, what more could you want?
Both the neckline and sleeves are edged with bias binding.

The neckline at the back.

The inside of a sleeve.
What I may do at some point is trim the dress with some velvet, or embroidered ribbon, for added detail, but it doesn't look too bad just as it is.

This photo shows the finish of the fabric off quite nicely. Having this finish, meant that due to the panels being cut differently, they look like a different colour to the main body of the dress, and I really rather liked that effect.
With this being my first go at making a historical costume, and having made most of it up as I went along, I'm pretty pleased with how it came out.
Of course, at some point, I'll take some photos of it on myself - then I can properly show off the sleeves - but for now you'll have to do with my trusty, as of yet nameless, dressmakers dummy posing as model.

I LOVE your dress! you are an amazingly talented lady! I especially love the lacing, and you gave me ideas to make a dress of my own. Thanks for inspiring me!
ReplyDeleteWhy, thank you very much indeed! I'm glad I've inspired you so, would love to know how your dress turns out!
DeleteI'll let you know, IF I ever get it done. I'm going to look for bedsheets now, thanks to you, instead of going to a fabric store and spending who knows how much for material. This is my first time sewing a dress, so if I ruin it, then I just go and get more bed sheets! :-)
Delete-Tala
Yes, bed sheets can be wonderful things! Though they do involve a lot of unpicking, haha. Good luck in your dress making, and I look forward to hearing from you again!
DeleteI got the sheets, and I picked out the Simplicity 9891 misses costume pattern, so all I have to do is start sewing! I see what you mean about sheets needing a lot of un-picking! ;)
ReplyDelete-Tala
What do you mean by unpicking? I love your dress! Also love the thrift store aspect of re-purposing fabric, great suggestion!
ReplyDeleteWell when I got the bed sheets they were still made up as beds, with various seams along the edges, and so I was sat there with scissors and a seam ripper for ages, taking out the stitches so I was left with just a length of fabric. And thank you!
DeleteOh, wow...I just cut them off, guess I lost some fabric when I did that.
ReplyDeleteDepends how big your seams are, I suppose! Mine were pretty big, and I wanted to make the most of my fabric.
Deletereally beautiful dress, you have inspired me to try making one for myself. just one quick point though, darts are a very late invention (mid 1800s I think) so a top without will look far more authentic, vital for re-enactors.
ReplyDeleteThank you very much, Karen! As this was one of the first pieces of historical costume I made, there are many things I'd do differently if I were to make this dress again now. First and foremost is to remove the darts!
Delete